Employee Directory
Organizations often keep information in their directory that the standard user fields don't cover - a cost center, a badge number, a building. In on-premise Active Directory (AD) such data is stored in custom or extension attributes, which can be synchronized with Microsoft Entra ID; cloud-only organizations can add the same kind of data directly in Entra ID.
The Vitextra Employee Directory web parts can show these attributes on SharePoint sites and in Microsoft Teams. This article explains which Entra ID attributes are supported, how to find their exact names, and how to add them as custom columns in:
- the Employee Directory (Entra ID) web part, and
- the Employee Directory web part with the Entra ID (Azure AD) data source.
💡 Tip
If the Employee Directory web part uses the User profiles data source, custom attributes come from SharePoint user profiles and search managed properties instead. See KB10049. How to Add Custom User Profile Attributes to the Employee Directory Web Part.
Supported attributes
Both web parts read Entra ID data through Microsoft Graph. A custom column is the name of a property of the Graph user resource type, and the web part requests it together with the built-in fields. Three kinds of names are supported:
| Attribute type | What to enter in Column | Example |
|---|---|---|
| Directory extensions - custom attributes synchronized from on-premises AD by Microsoft Entra Connect (directory extension sync) or registered by an application | The full extension name in the format extension_{appId}_{attributeName}, where {appId} is the application ID without hyphens | extension_8f2a1c0e4b7d4c3a9e6f5d4c3b2a1f0e_costCenter |
On-premises extension attributes - the 15 attributes extensionAttribute1–extensionAttribute15 (the Exchange custom attributes), synchronized from AD or set for cloud-only users | Just the attribute name; the web part reads the value from onPremisesExtensionAttributes | extensionAttribute1 |
| Other user properties that the built-in fields don't cover | The Graph property name | employeeHireDate, faxNumber, preferredLanguage, usageLocation |
Custom attribute names in Entra ID are not the same as in on-premises AD. For example, an AD attribute such as costCenter that is synchronized as a directory extension appears in Entra ID as extension_{appId}_costCenter. Always use the Entra ID name, spelled exactly as Microsoft Graph returns it - names are case-sensitive.
❗ Important
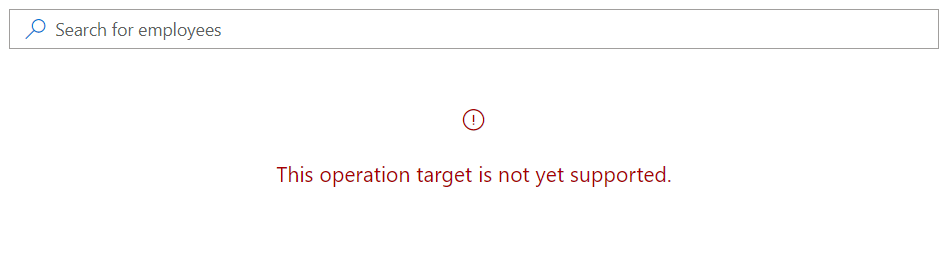
Schema extensions and open extensions are not supported. Also avoid user properties that Microsoft Graph returns only for a single user and not in a list of users - for example aboutMe, skills, interests, hireDate and mySite. If a custom column refers to such a property or to a name that doesn't exist, the directory can't load the users and shows an error instead.
Prerequisites
To find the attribute names, you can use Graph Explorer or Microsoft Graph PowerShell. This section uses PowerShell. Open PowerShell and install the Microsoft Graph PowerShell SDK:
Install-Module Microsoft.Graph -Scope CurrentUser
📝 Note
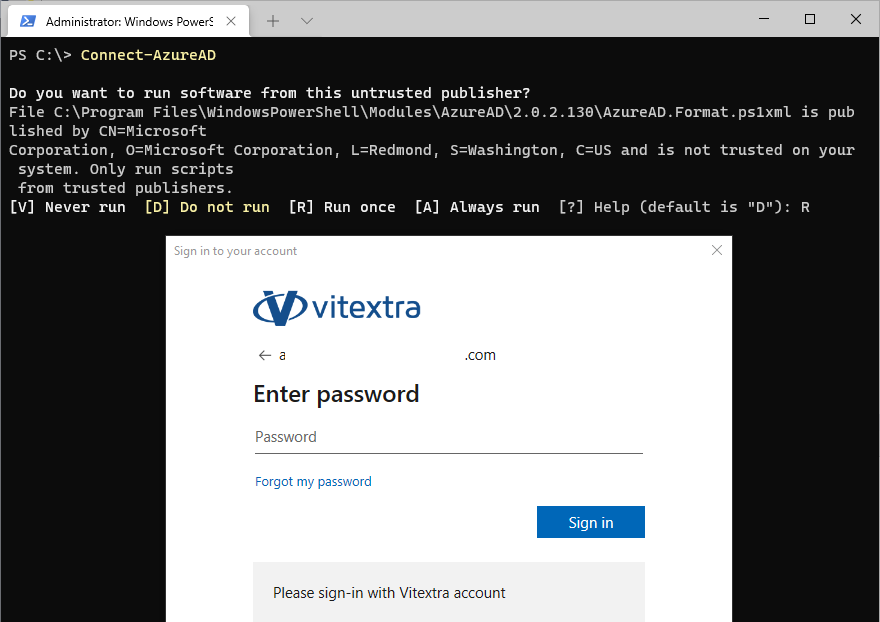
The older AzureAD and MSOnline PowerShell modules are retired. Use the Microsoft Graph PowerShell cmdlets shown below instead of Connect-AzureAD and Get-AzureADUser.
Connect to Your Environment
Connect to Microsoft Graph with permissions to read users and directory data:
Connect-MgGraph -Scopes "User.Read.All", "Directory.Read.All"
You'll be prompted to sign in with your work account and, if needed, to consent to the requested permissions.
Getting Custom Attributes
To list the directory extensions registered in your tenant, run:
Get-MgDirectoryObjectAvailableExtensionProperty | Select-Object Name, DataType, IsSyncedFromOnPremises
The Name column contains the full names (extension_{appId}_{attributeName}) to use in the web part. Extensions with IsSyncedFromOnPremises set to True come from on-premises AD.
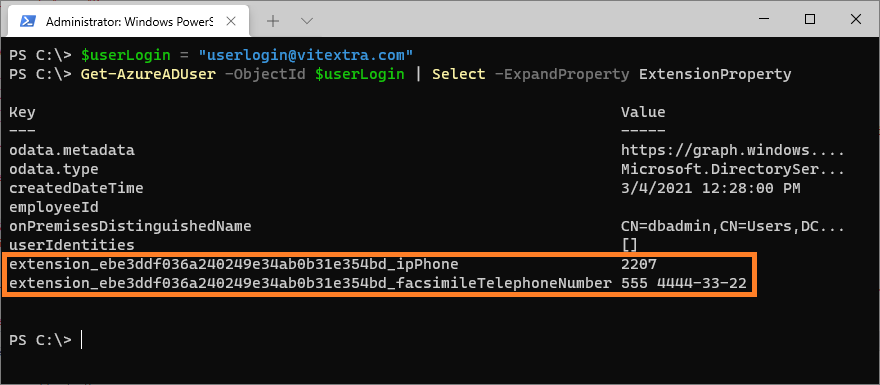
To check the values of a particular user, replace dbadmin@vitextra.onmicrosoft.com with the sign-in name of a user who has the attributes you need, and run:
$userLogin = "dbadmin@vitextra.onmicrosoft.com"

# extensionAttribute1–15
(Get-MgUser -UserId $userLogin -Property "onPremisesExtensionAttributes").OnPremisesExtensionAttributes | Format-List

# a directory extension (use a name from the list above)
(Get-MgUser -UserId $userLogin -Property "extension_8f2a1c0e4b7d4c3a9e6f5d4c3b2a1f0e_costCenter").AdditionalProperties
In Graph Explorer, the same information is returned by GET https://graph.microsoft.com/v1.0/users/{user}?$select=displayName,onPremisesExtensionAttributes and by POST https://graph.microsoft.com/v1.0/directoryObjects/getAvailableExtensionProperties.
Web Part Properties
The custom columns are configured the same way in both web parts:
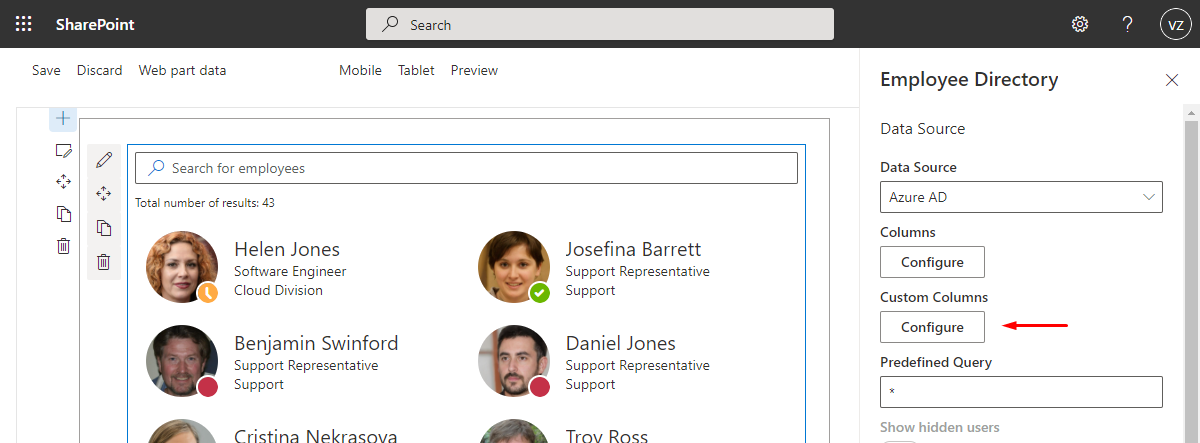
- Open the page with the web part, select Edit, and then select the edit (pencil) icon of the web part to open its property pane.
- In the Data Source section - in the Employee Directory web part, make sure Data Source is set to Entra ID (Azure AD) - select Configure under Custom Columns.
- The Columns panel opens. In the empty row at the bottom of the table, enter the attribute name in Column and the label your users will see in Caption, and choose where the column is shown.
- Select Add new item (the plus icon at the end of the row). Repeat for each attribute you need.
- Use Order to change the position of the columns, and select Save.
- Publish the page to make the custom attributes available to users.
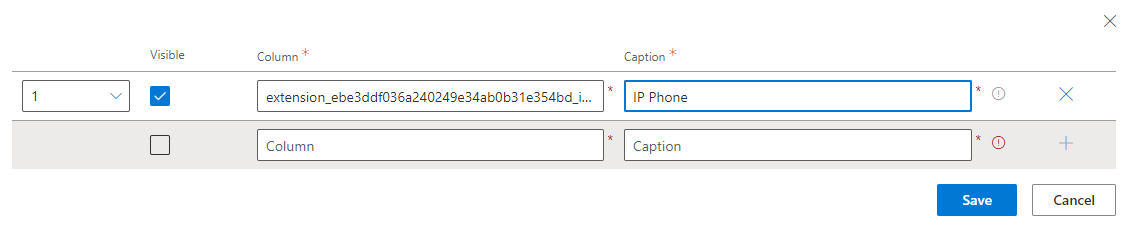
Each custom column has the following settings:
| Setting | Description |
|---|---|
| Show in list | Shows the attribute as a column in the Details view and includes it in the Excel export. Selected by default for a new row. |
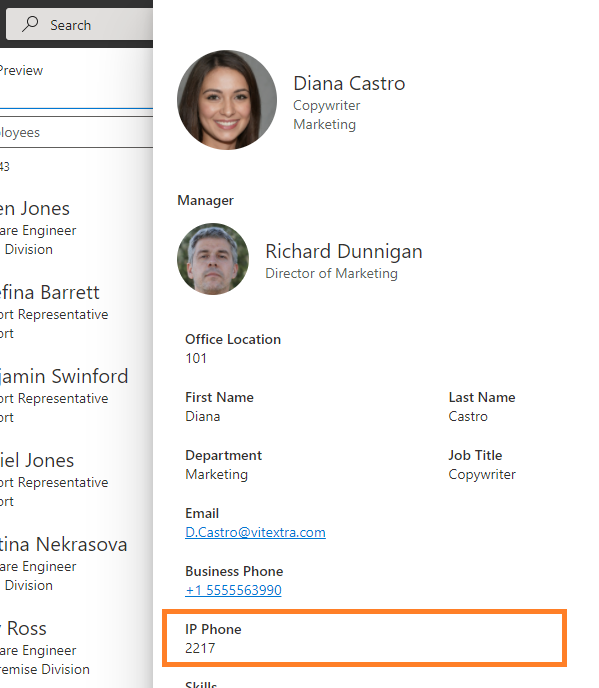
| Show on card | Shows the attribute in the employee details pane that opens when you select a person. |
| Searchable | Employee Directory (Entra ID) only. The search box also looks for the typed text in this attribute. |
| Column | The attribute name, as described in Supported attributes. Required. |
| Caption | The label shown as the column header and in the details pane. Required. |
| Order | The position of the column among the custom columns. Custom columns are placed after the built-in columns. |
To remove a custom column, select Delete Row (the trash can icon) at the end of its row and then select Save.
📝 Note
The Employee Directory web part keeps one list of custom columns for both data sources and doesn't offer the Searchable option. If you switch its Data Source to User profiles, replace the Entra ID attribute names with search managed properties as described in KB10049.
Once saved, the custom attributes with Show on card selected appear in the employee details pane when the person has a value:
Where custom columns appear
A custom column can be used in the same places as the built-in fields:
- Details view and Export to Excel - when Show in list is selected. See KB10062. How to Export Employee Directory Results to Microsoft Excel.
- Details pane - when Show on card is selected. See KB10199. Employee Directory: Customizing the Details Pane.
- Contact cards and Group by - custom columns are offered in the Content Fields dropdowns and in the Group by dropdown of the Appearance section. See KB10314. Employee Directory Layouts: Details and Cards, Card Size, Card Fields and Group By.
- Filter (Employee Directory (Entra ID) only) - custom columns can be used in filter conditions to limit who is shown. See KB10311. How to Configure the Employee Directory (Entra ID) Web Part: Filters, Exclusions and A–Z Navigation.
📝 Note
The Employee Directory (Entra ID) web part keeps a copy of the directory in the browser and refreshes it automatically after 24 hours. When you change the custom columns, the data is reloaded for you; other users see new attribute values after the next refresh, or immediately if they select the Refresh link next to Last updated.
Summary
Custom Entra ID attributes - directory extensions synchronized from on-premises AD, extensionAttribute1–extensionAttribute15 and other user properties - extend what the Employee Directory web parts can show in SharePoint and Microsoft Teams. Find the exact attribute name with Microsoft Graph PowerShell or Graph Explorer, add it under Custom Columns, and choose whether it appears in the list, in the details pane, in search, in groups or in the export.